Thermal printer
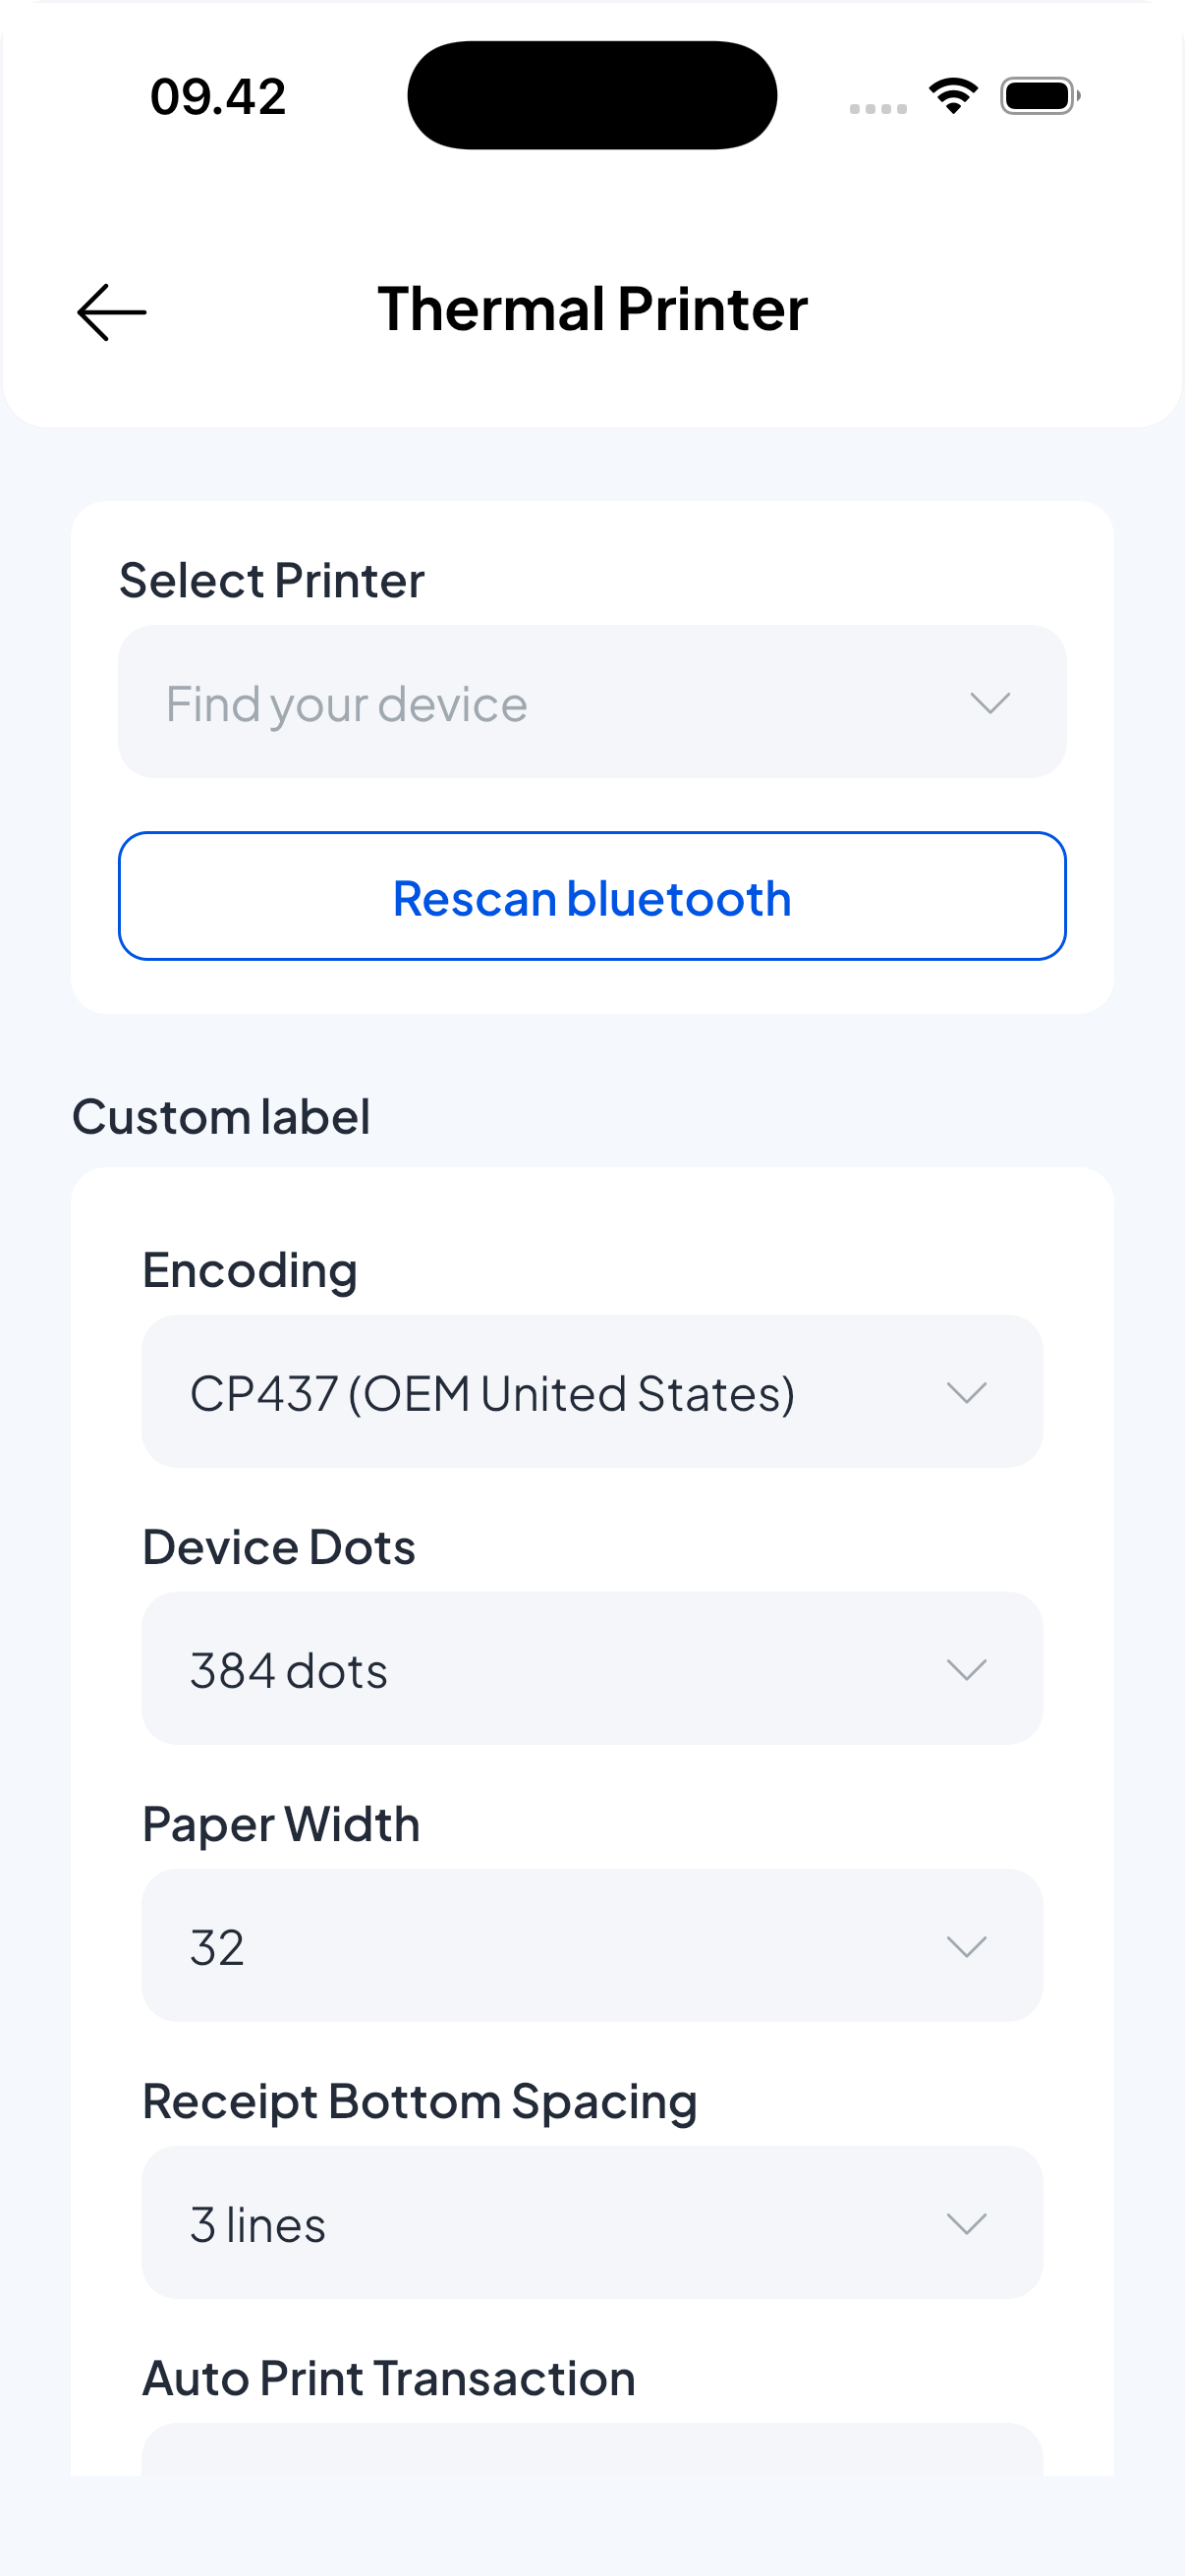
Access: Settings > Thermal printer
Quick steps
- Enable Bluetooth on your device.
- Open Settings > Thermal printer and tap Scan button.
- Choose your thermal printer from the nearby devices dropdown and connect.
Printer settings (brief)
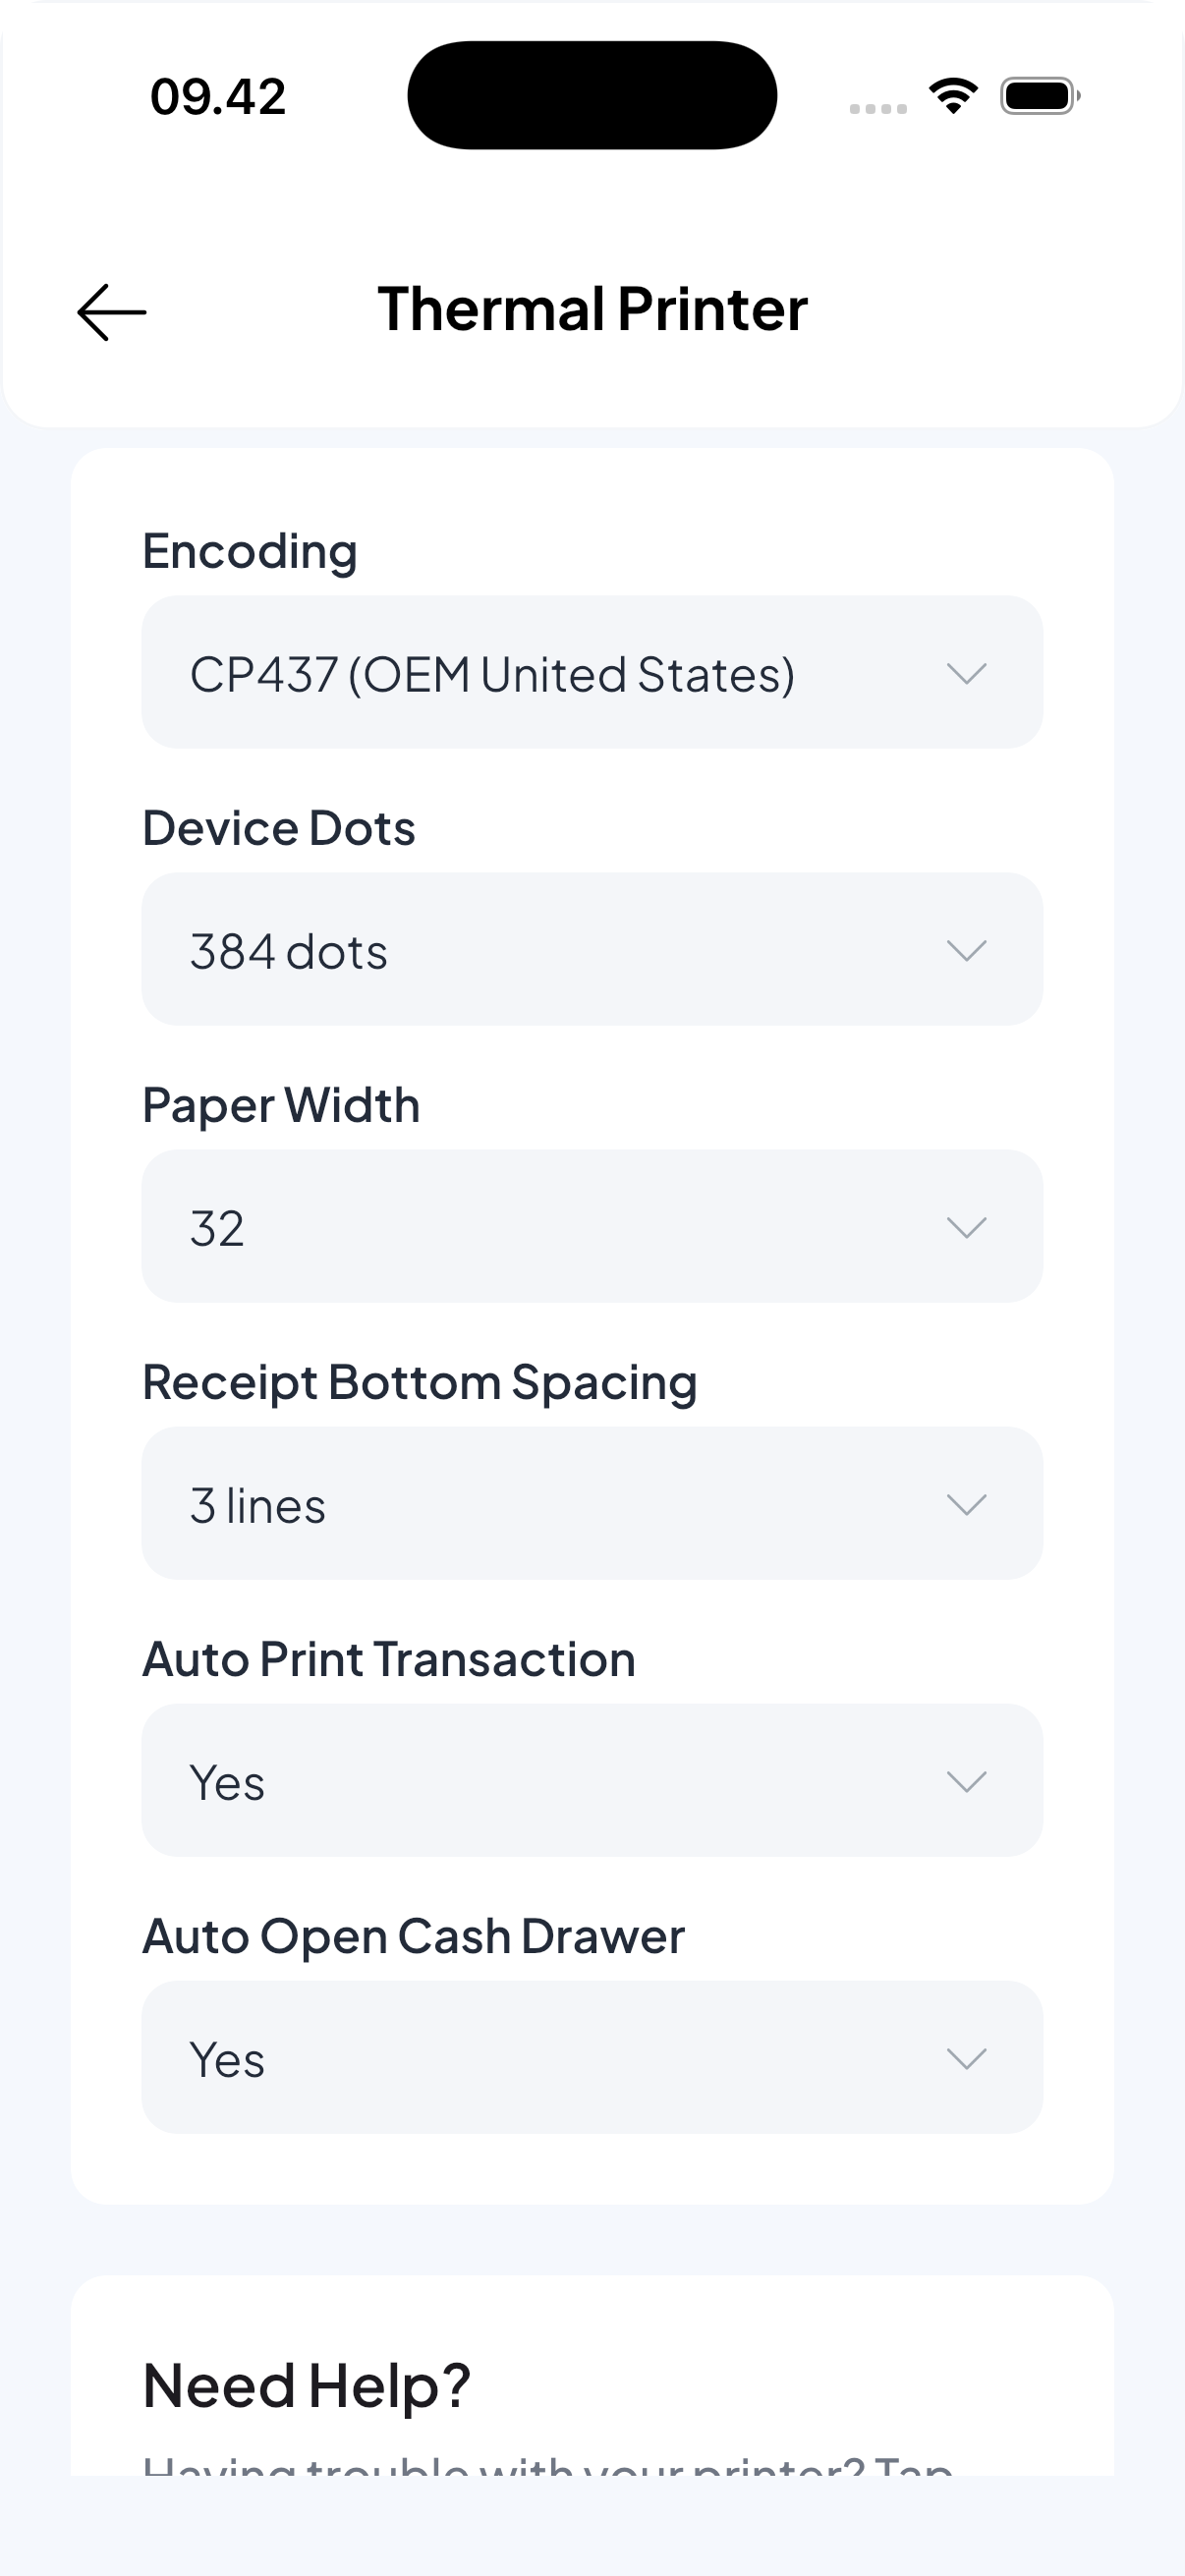
- Encoding — character encoding used by the printer (e.g., UTF-8); pick one compatible with your locale/language.
- Device dots — print density / dot height; increase for darker prints or lower for lighter output.
- Paper width — select your printer paper width (common: 58 mm or 80 mm).
- Receipt bottom spacing — space left at the bottom of each receipt (mm); adjust to suit cutter or printer margins.
- Auto print receipt — when enabled, the app sends receipts to the printer automatically after completing a sale.
- Auto open cash drawer — toggle to send an open-cash-drawer signal after printing (requires compatible drawer connected to the printer).
Testing & troubleshooting
- Test print after connecting to confirm layout, encoding and margins.
- If the printer doesn't appear in the scan list: ensure Bluetooth is enabled, the printer is powered on and discoverable, and the OS has granted Bluetooth permissions to the browser/app.
- For connection issues try: power-cycle the printer, move closer, pair the device at the OS level, then retry in the app.
Notes
- Settings may vary between printer models; consult your printer manual for recommended encoding, dot density, and paper width.
- Auto-open drawer only works with drawers wired to the printer's kick-out connector and supported by the printer firmware.