Create an item
This guide explains how to add and manage items (products or services) in Salesmaster.
Steps to add an item
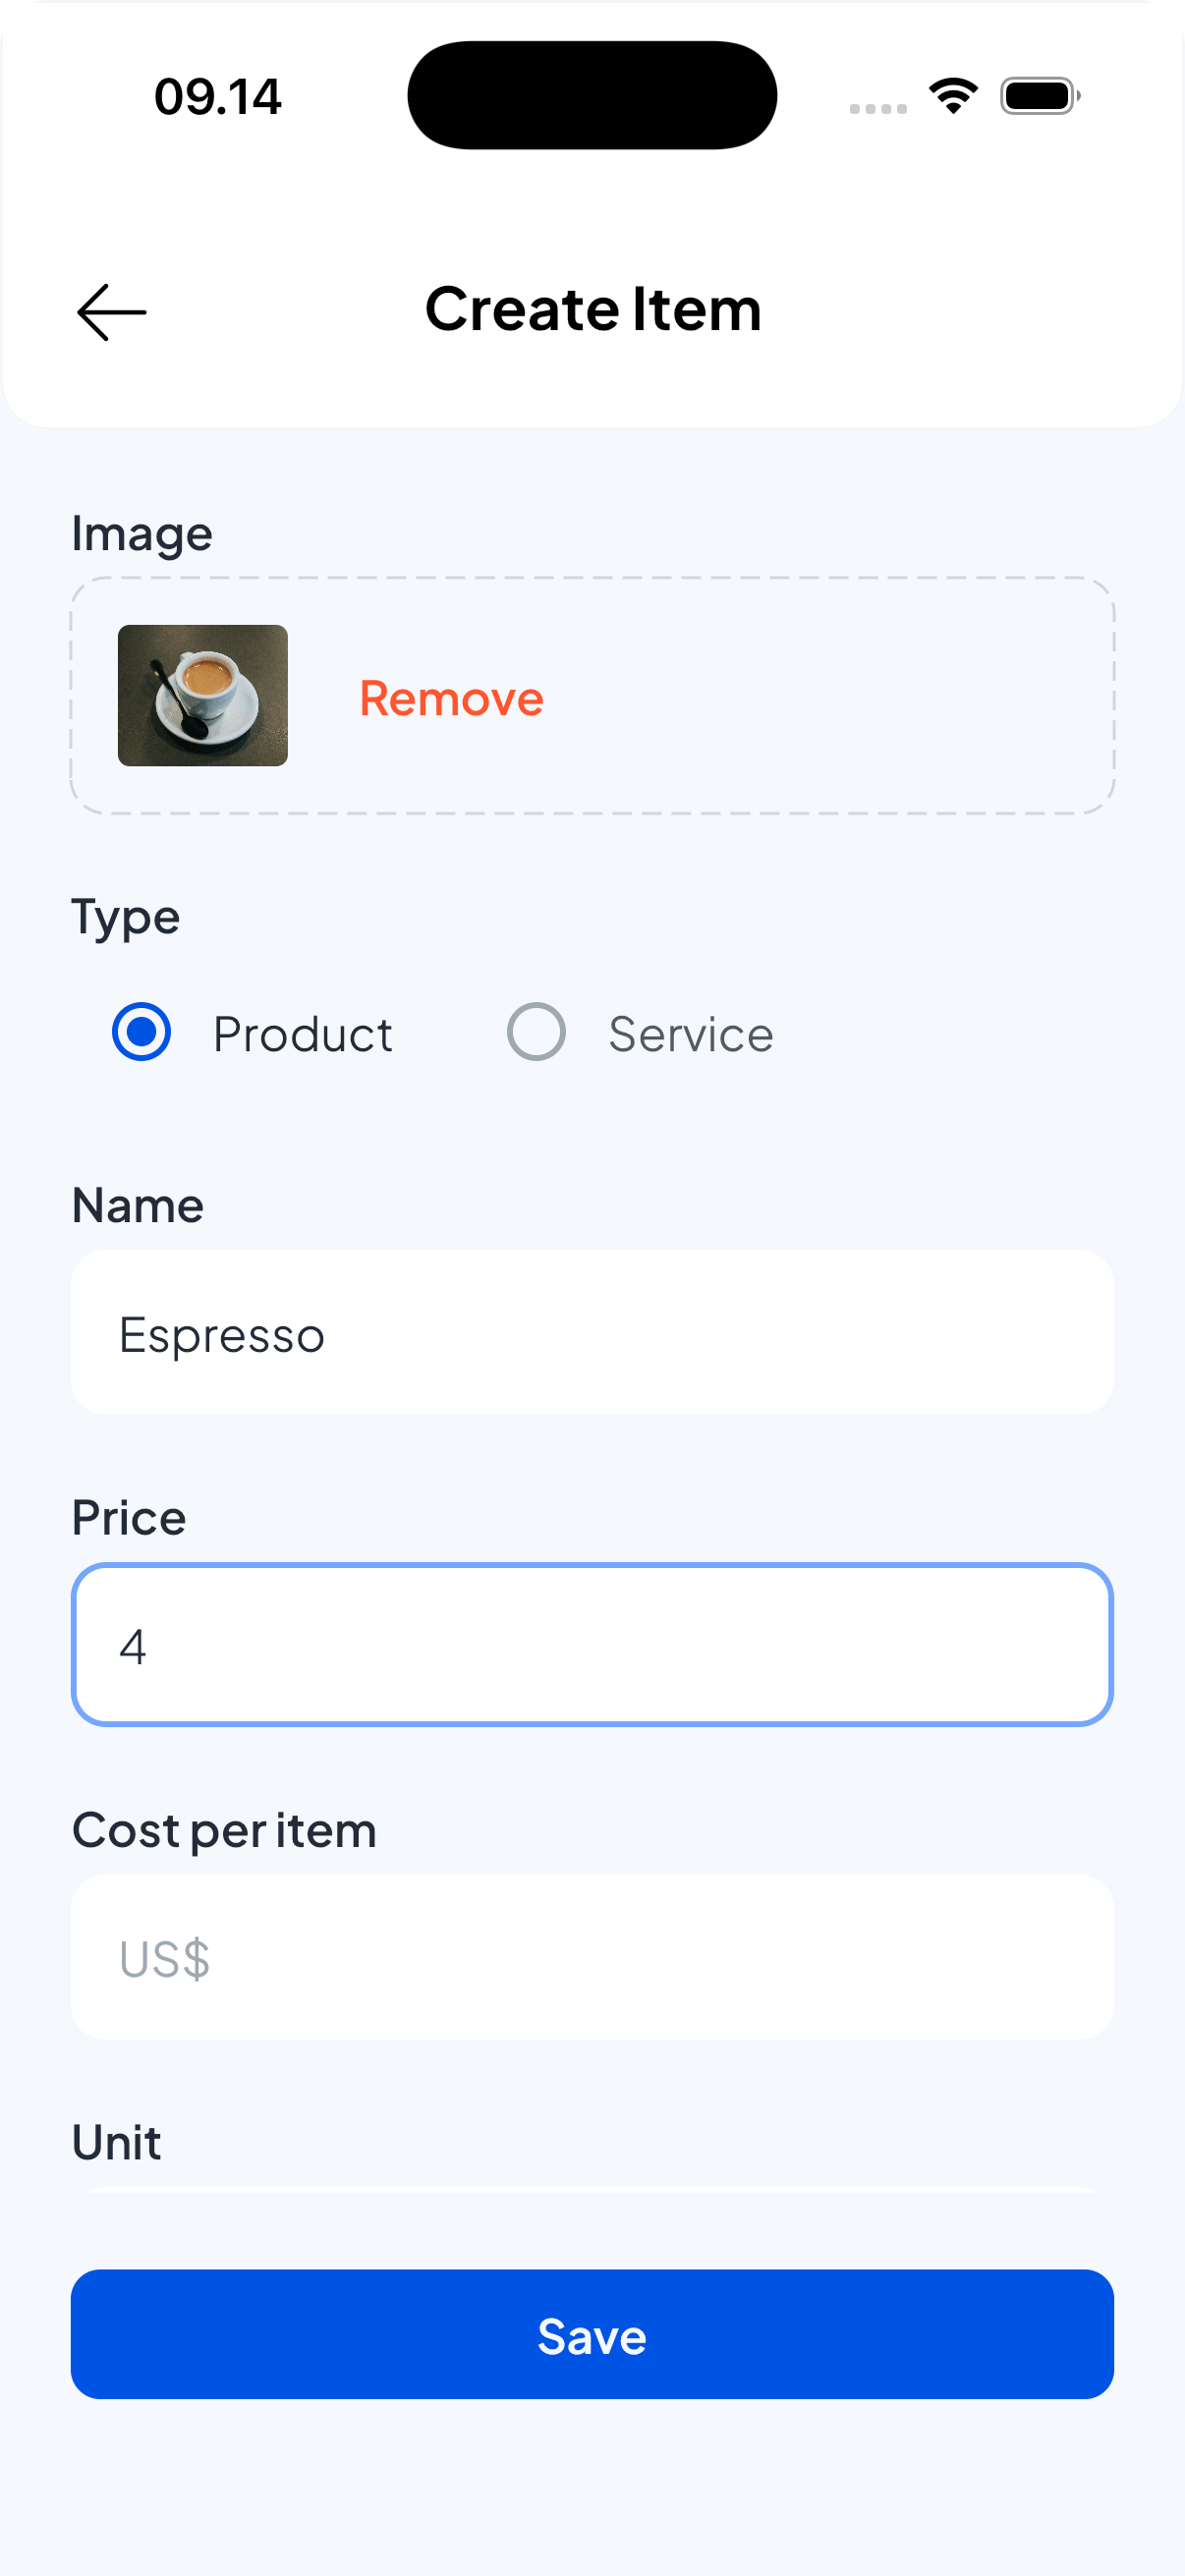
- Open the Catalog menu and go to the List Items screen.
- Click the "Add item" button to create a new item.
- Enter the item details:
- Image — optional product image.
- Type - item type, product or service.
- Name — required. Use a clear, descriptive product name.
- Price — unit selling price (use your store currency).
- Cost per item — optional; useful for margin and profit calculations.
- Unit — optional (e.g., pcs, kg, box).
- Barcode / SKU — optional but recommended for fast lookup and scanning.
- Stock tracking — enable if you want to track stock for the item.
- Variety — if the item has some variety or variants like sizes, colors, etc (optional).
- Tax — select the applicable tax rate (optional) for item.
- Discount — default discount (optional) for item.
- Category — choose which category the item belongs to.
- Enable in Sale — toggle to show or hide this item on the sale screen.
- Save the item.
Editing items
- Open the Items list.
- Select the item, and choose Edit.
- Update fields as needed and save the items.
Item Variety
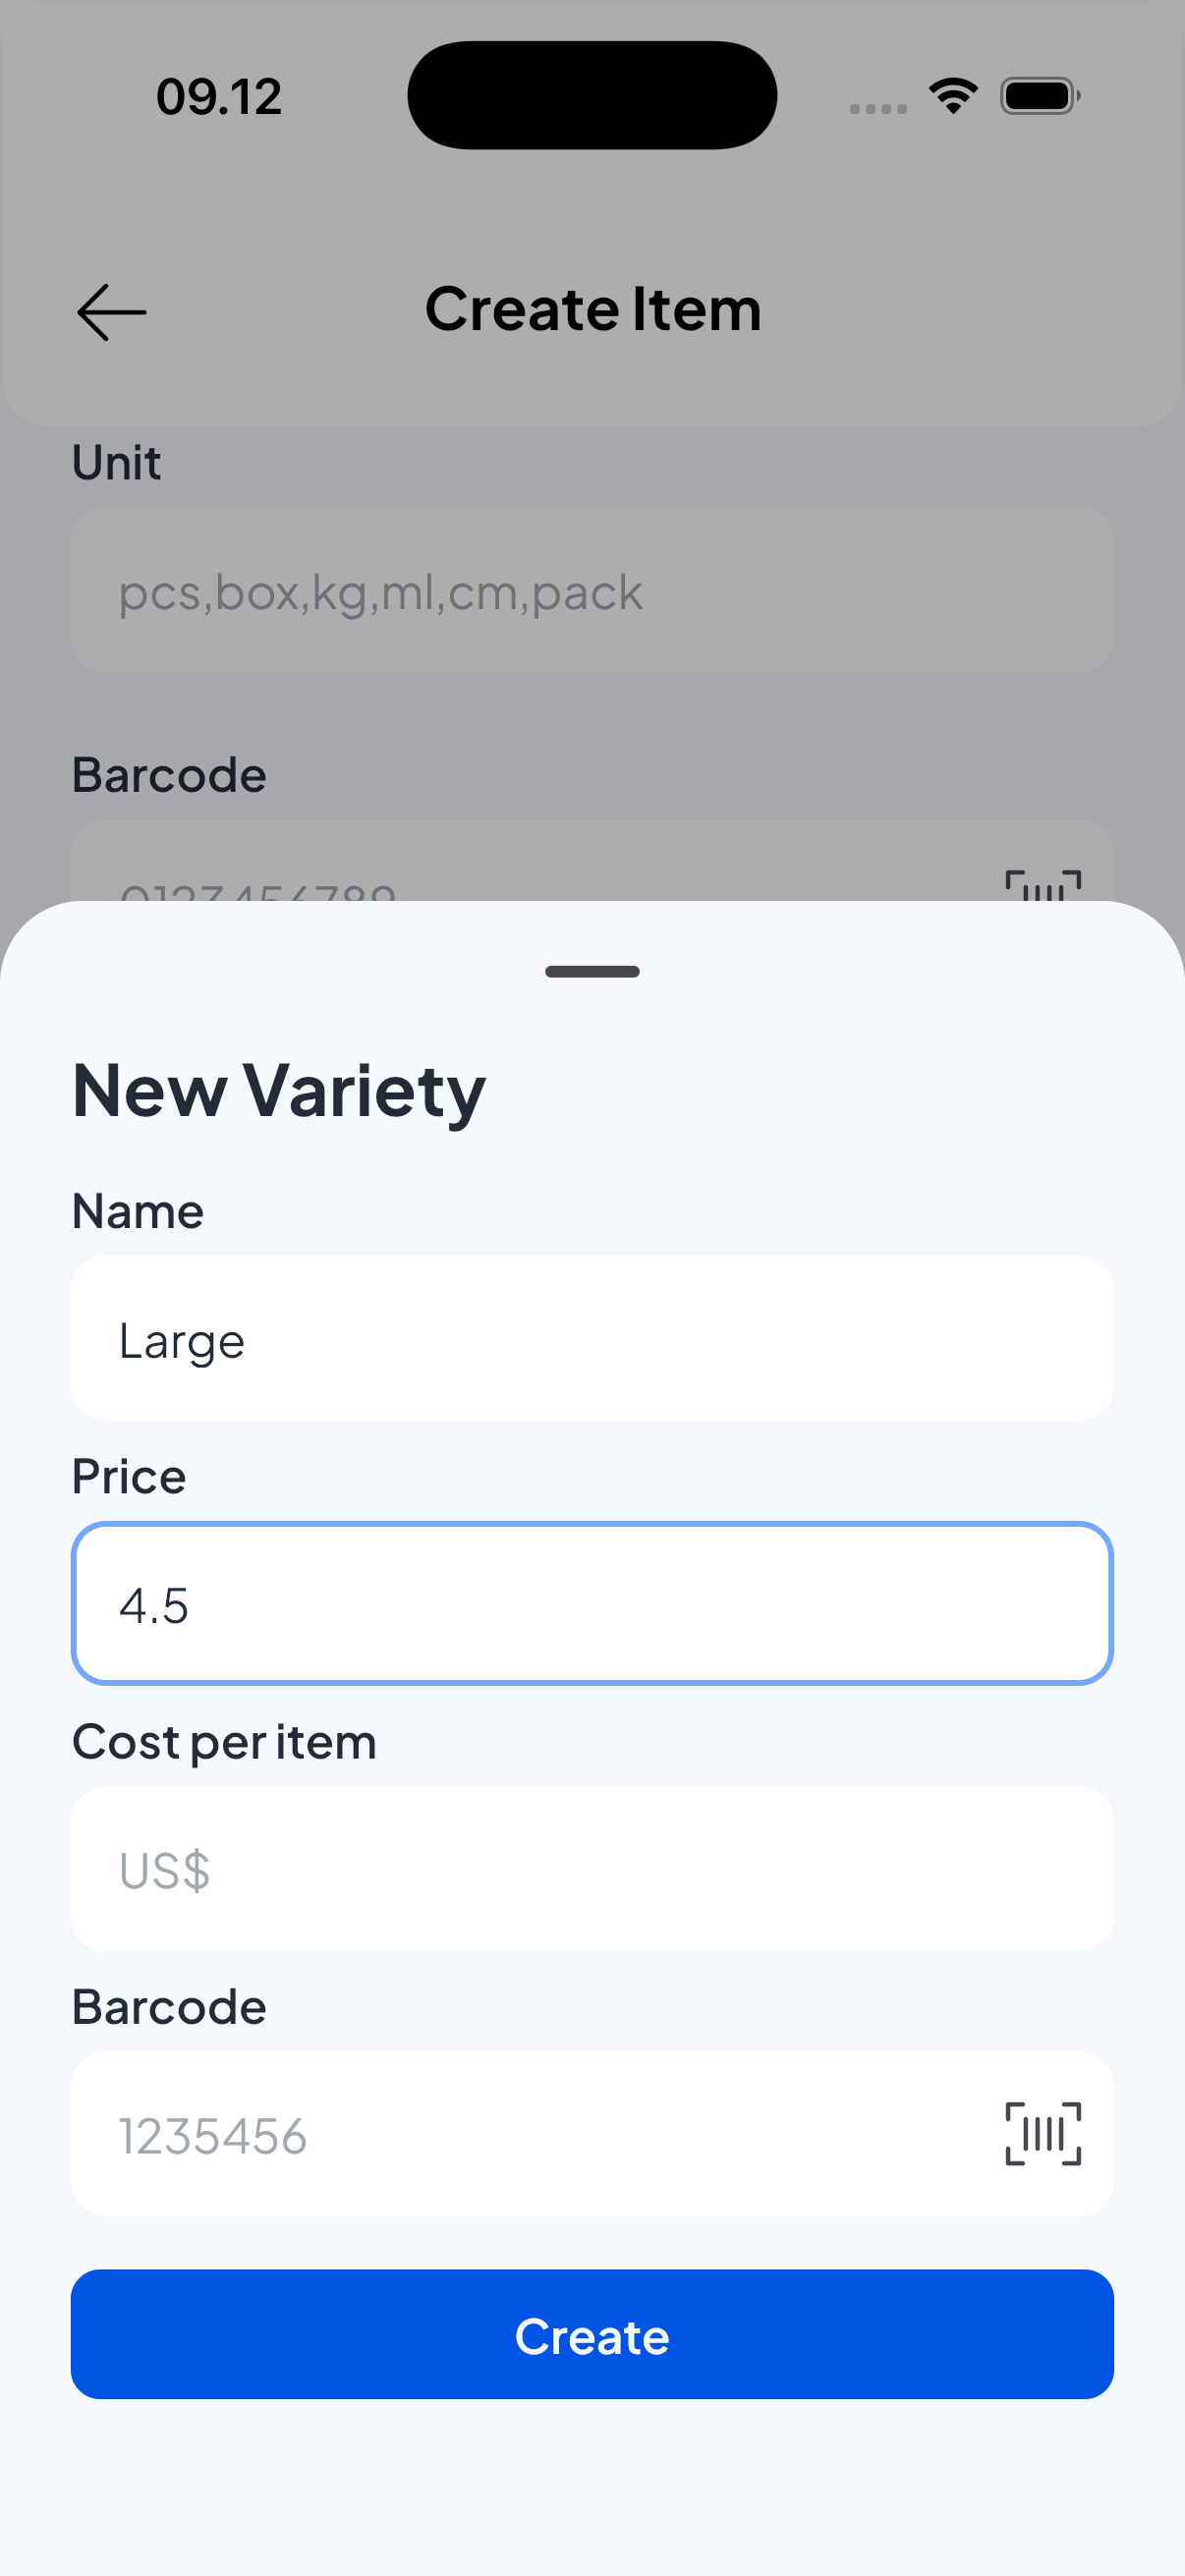
If an item comes in multiple varieties (for example, sizes, colors, or flavors), add them in the "Variety" section on the item screen.
How variety work:
- Add a variety by clicking Add variety button. Each variety is a separate option for the same product.
- Fields per variety typically include: variety name (e.g., "Large / Red"), Price, Cost per unit, SKU/Barcode.
- You can edit or delete a variety by selecting it in the list of variety.
Use cases:
- Use varietys for the same product with different sizes or colors so each combination can have its own price, SKU, and stock count.
Discounts
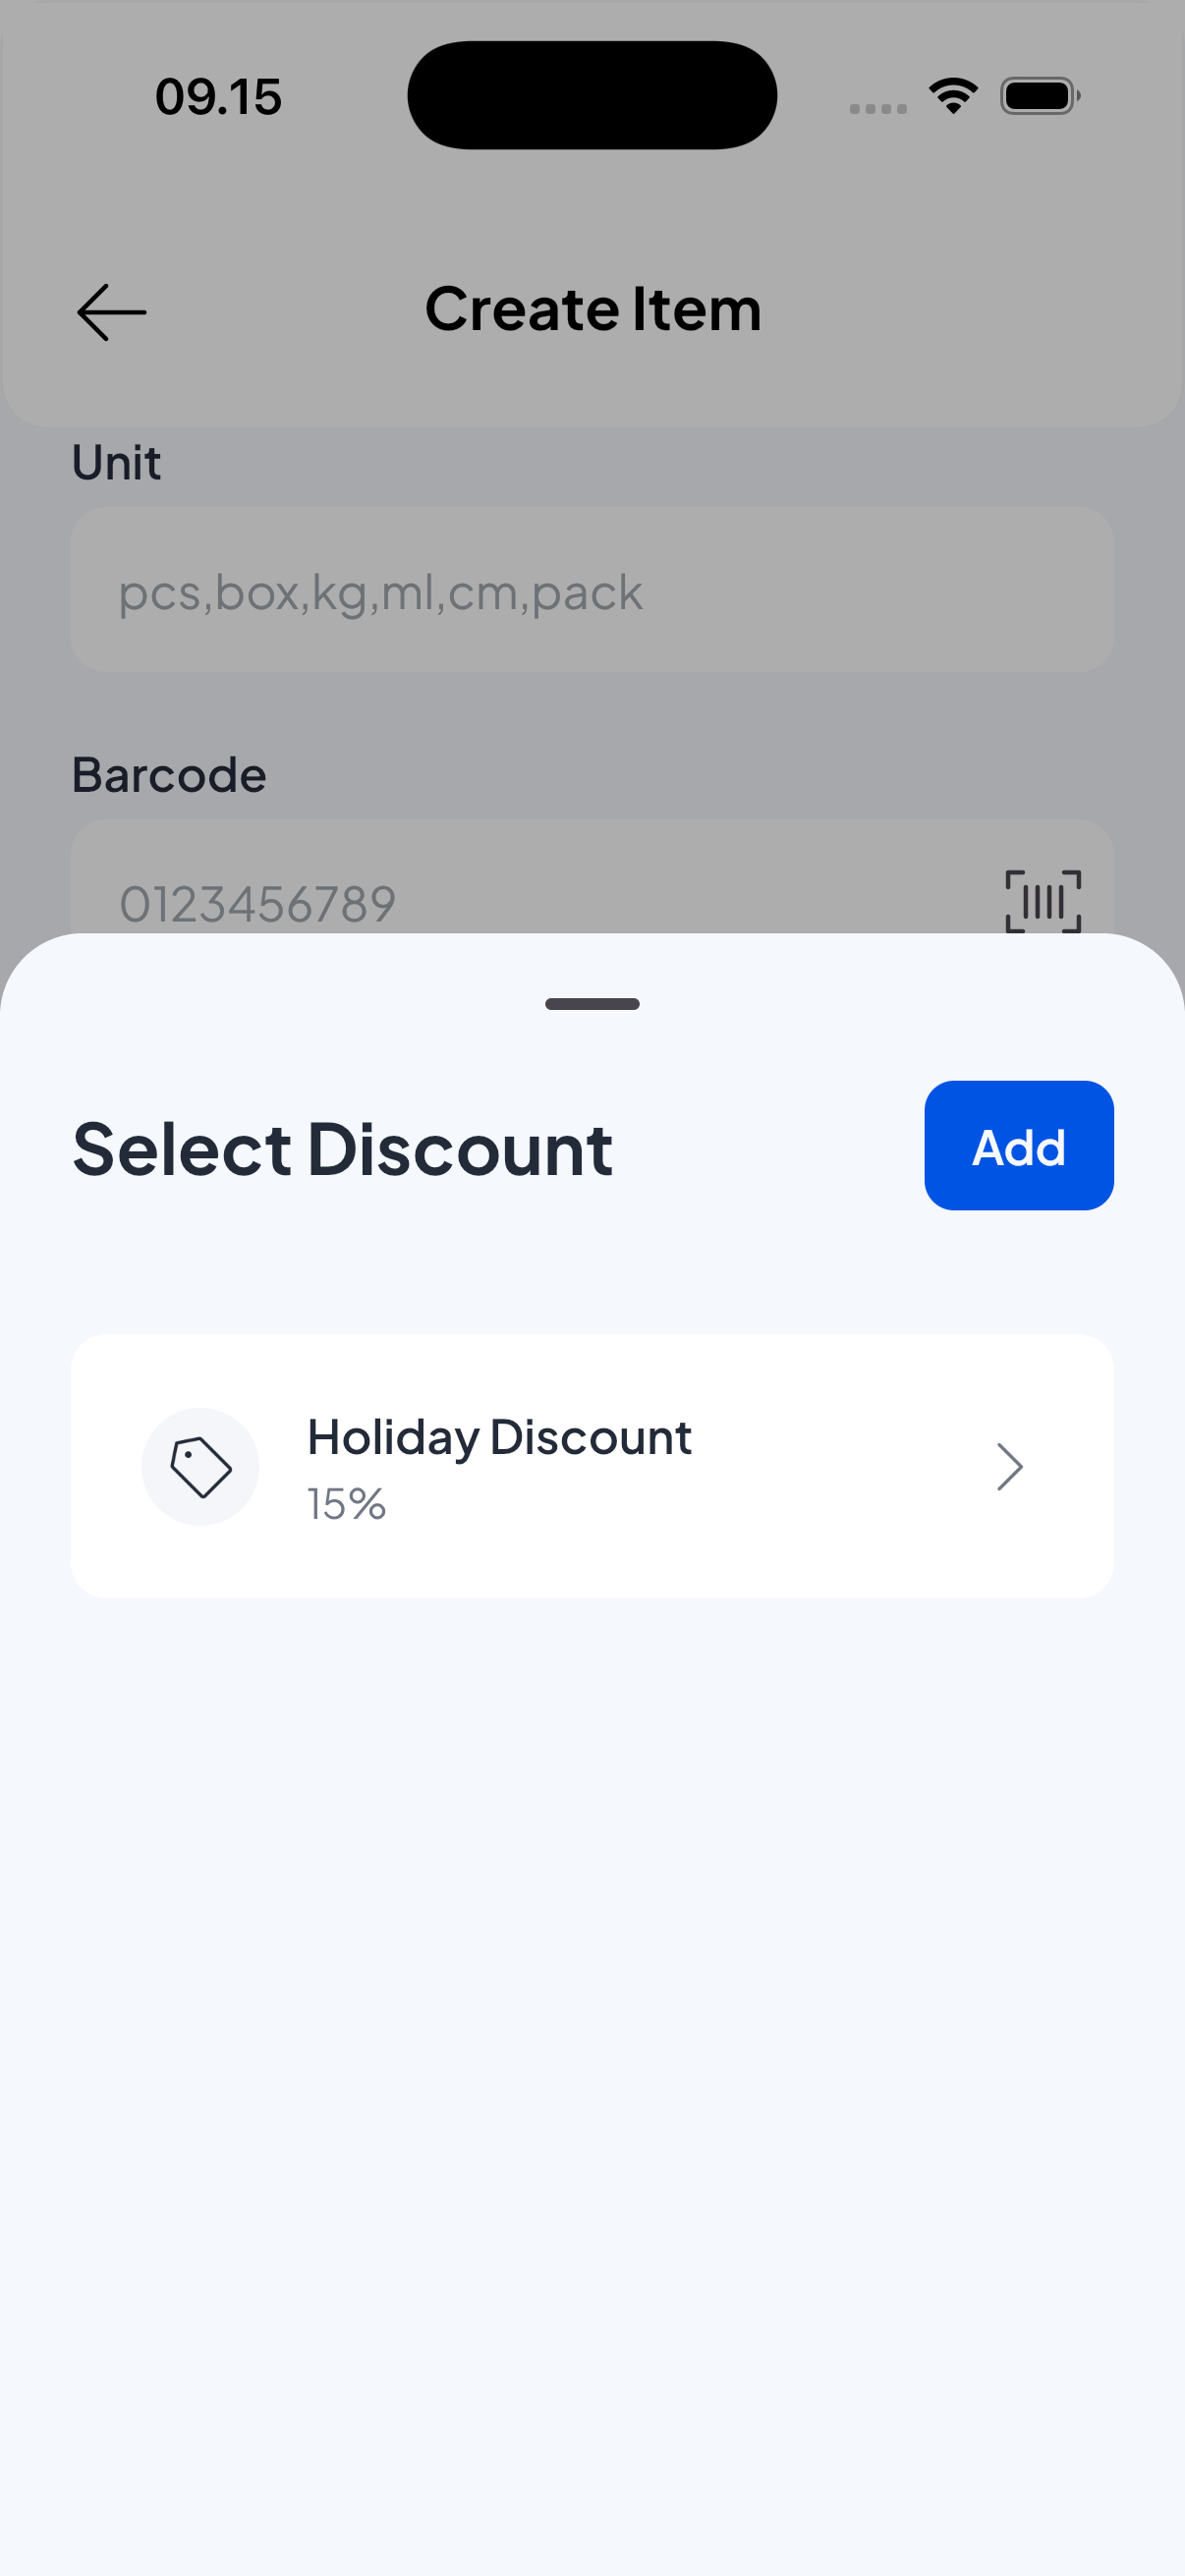
- Discounts can be fixed amounts (e.g., $5 off) or percentages (e.g., 10% off).
- You can create and apply more than one discount option to an item. The selected discount becomes the default for that item.
- Create, edit, or remove discounts from the item screen itself.
Taxes
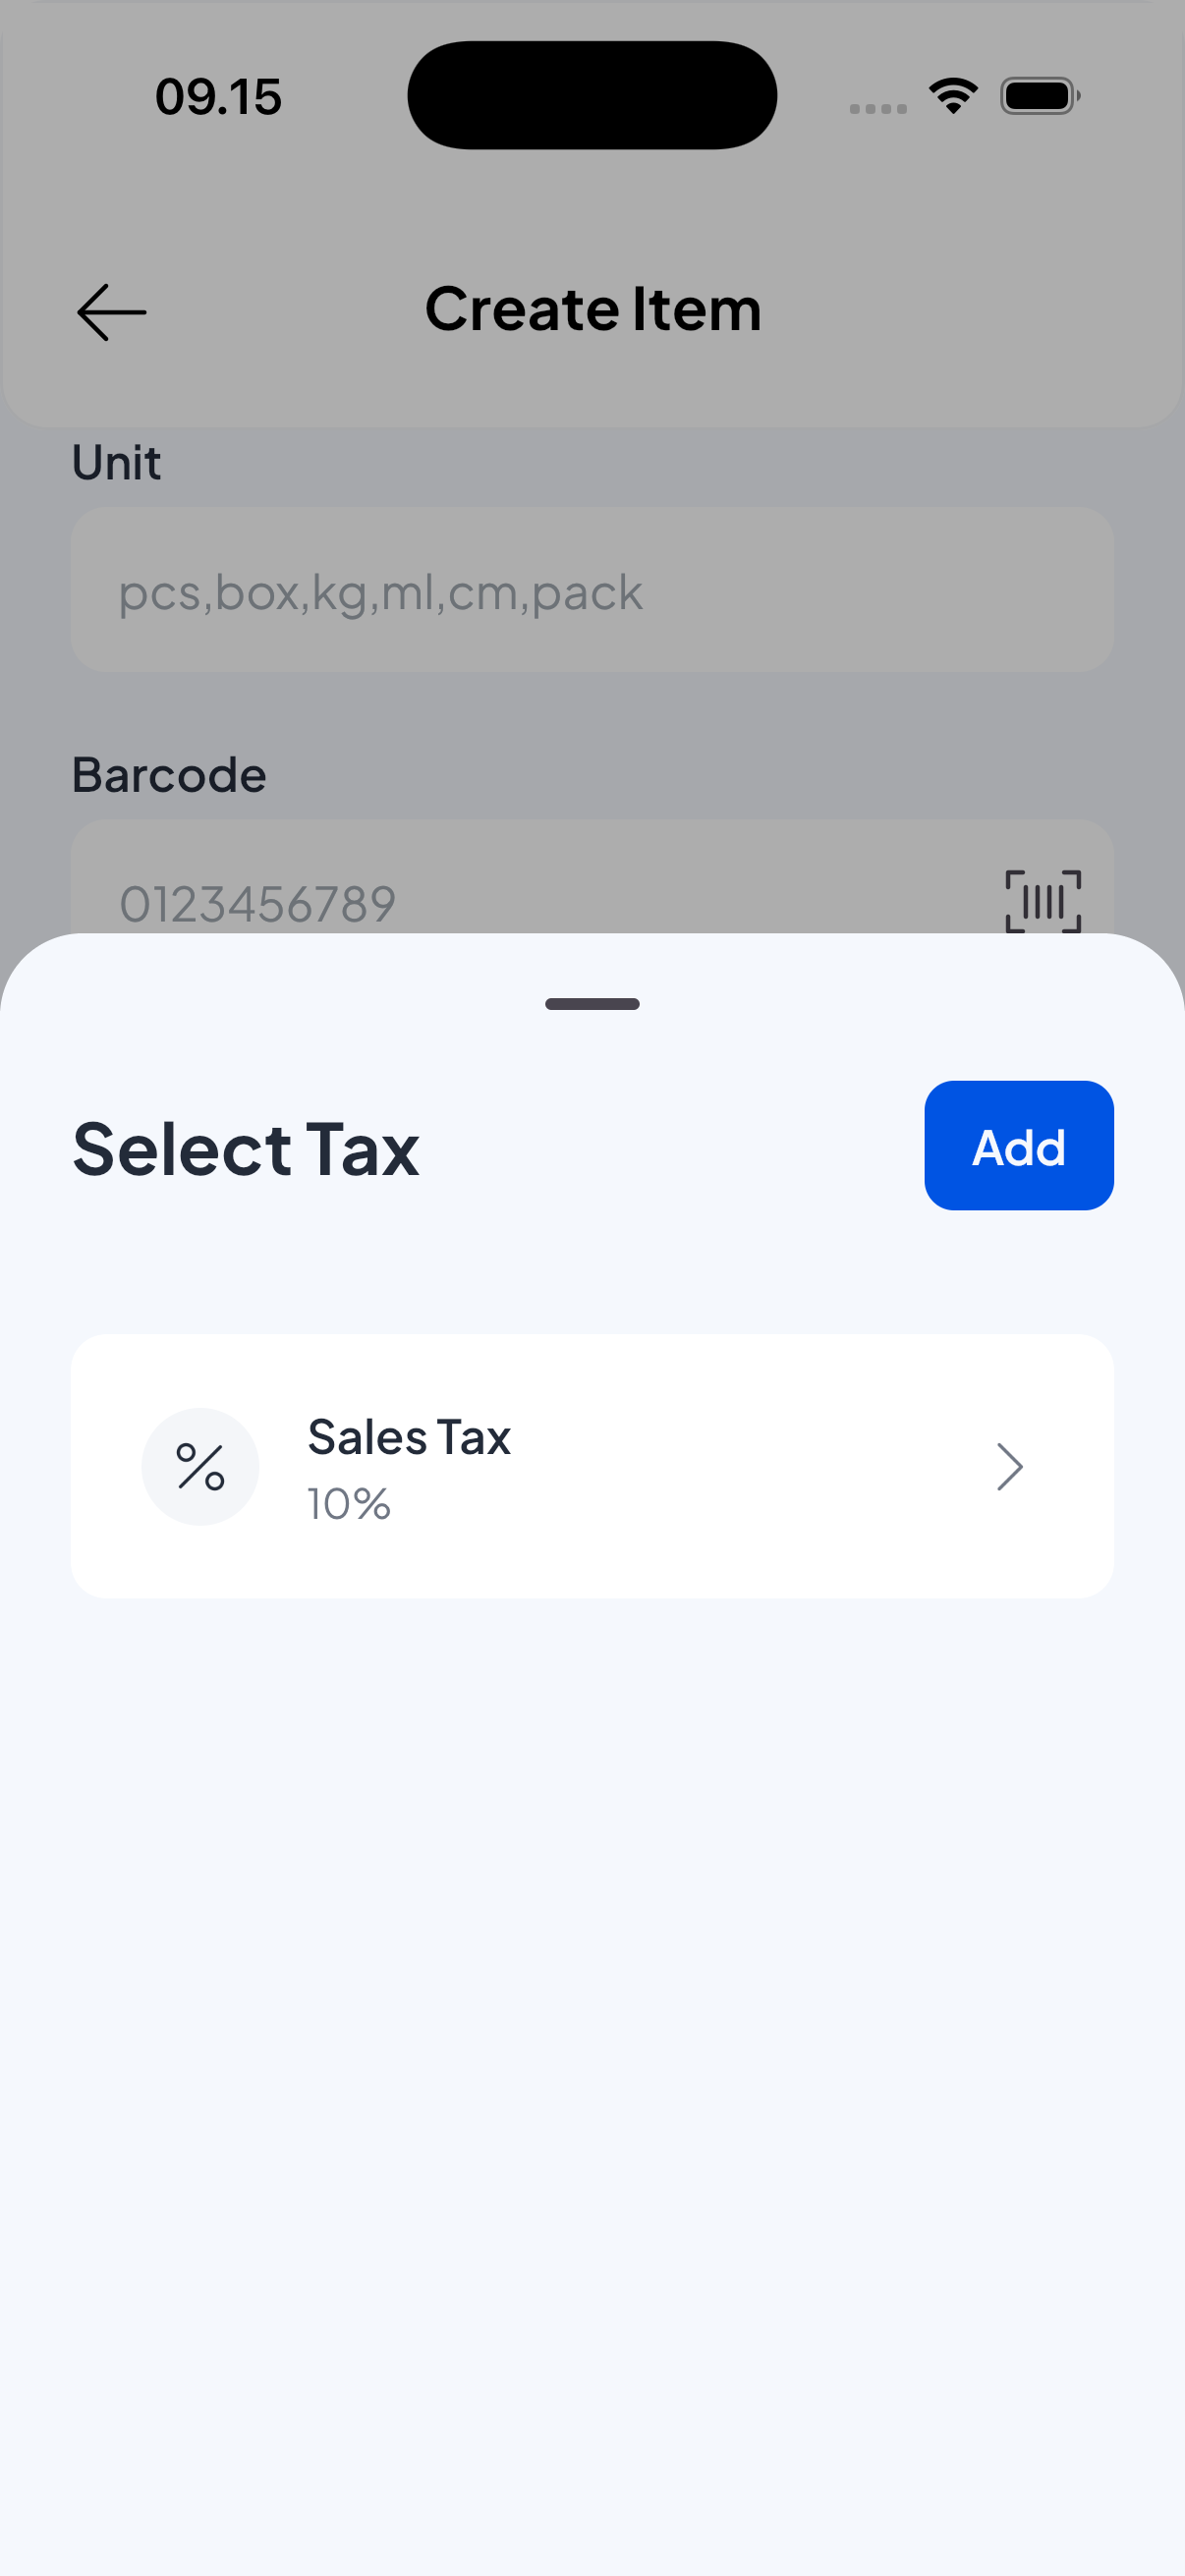
- Taxes work similarly to discounts: you can create multiple tax options and apply one or more to an item.
- A tax can be a percentage (common) or a fixed amount per unit, depending on your needs.
- You can set one or more default tax rules for the item when creating or editing it.
Category
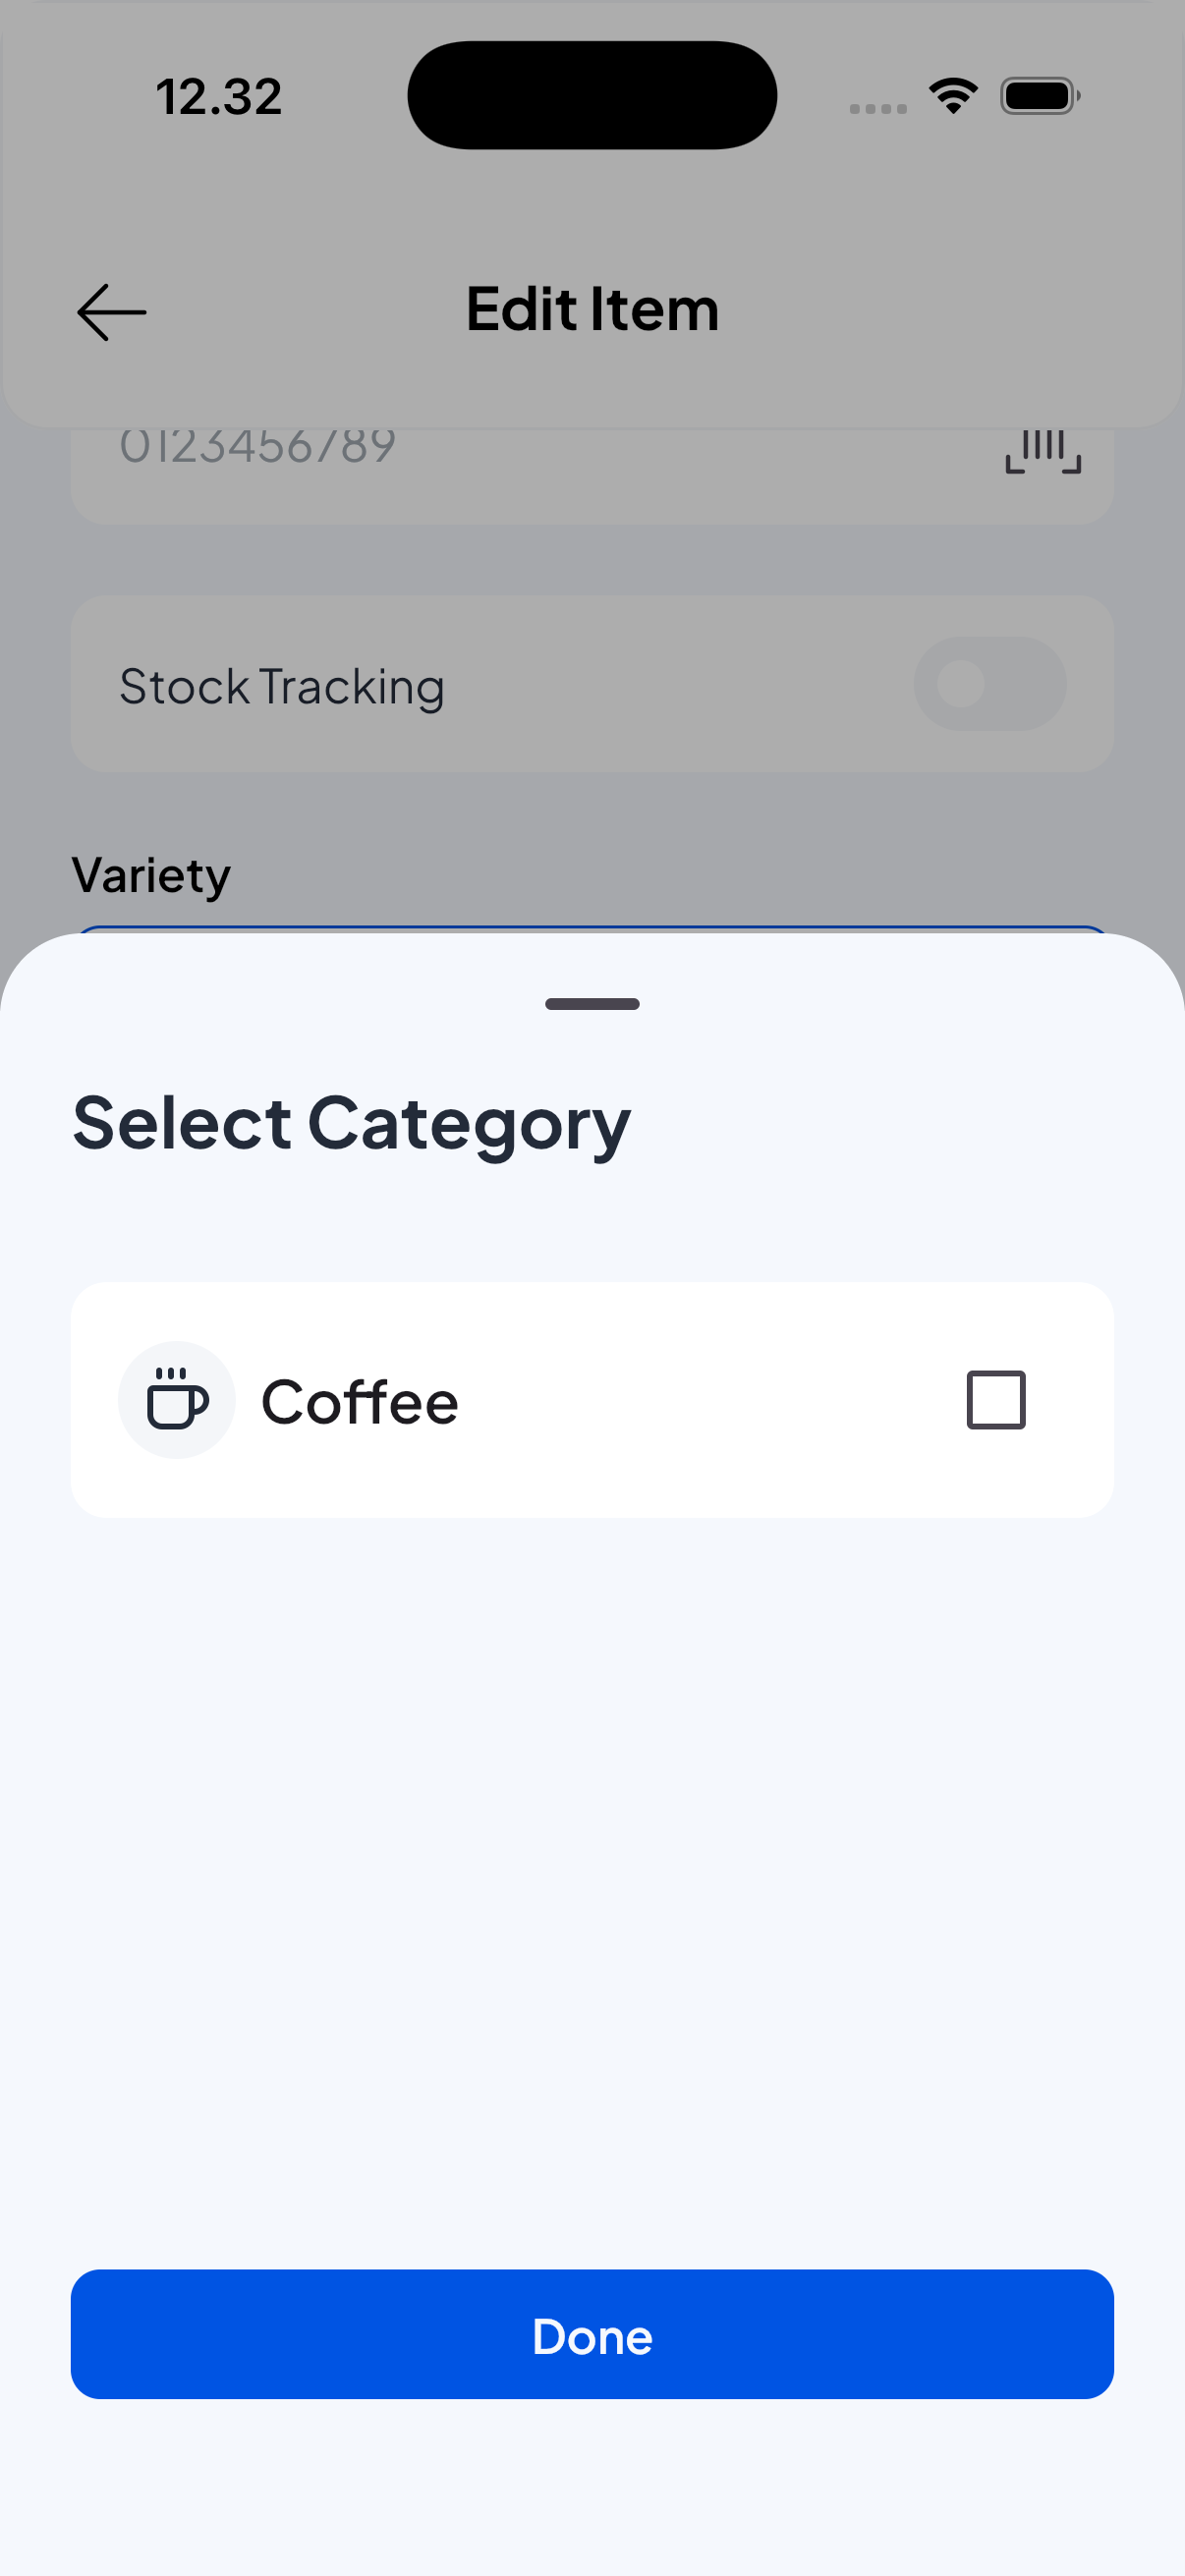
- Assign the item to a category to keep your catalog organized (for example: Beverages, Electronics, Accessories).
- You can usually choose an existing category or create a new one from the item screen or from Catalog > Categories.
Once you save the item, you can manage its stock. Test the item in a sale to confirm price, taxes, discount, and variety selection behave as expected.
Related pages
- Stock tracking - manage item stock.