Store data is your shop's identity: its name, logo and contact details. All of it shows on printed and web receipts, so customers know where the receipt came from.
Access: Business > Store Data (the store card at the top)
Fill in your store data
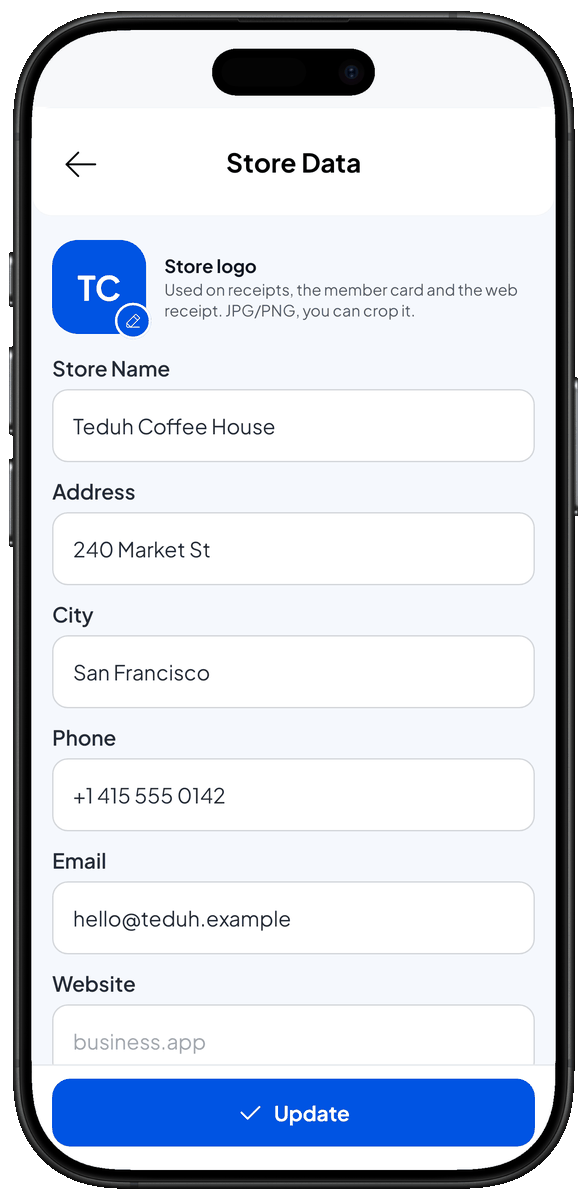
- Open the Business menu. Your store card is at the top, labelled Store Data.
- Tap the store card. The Store Data screen opens.
- Enter the Store Name. This is the only required field. It's printed at the top of the receipt.
- Enter the Address and City (optional).
- Enter the Phone, Email and Website if you have them (optional). These show on the receipt as the store's contact details.
- Tap Update. Your store data is saved and used on the next receipts.
Add or change the store logo
- On the Store Data screen, tap the Store logo circle (it has a pencil icon). The image picker opens.
- Pick a JPG or PNG image and crop it if you need to. The new logo shows on the screen.
- Tap Update. The logo is saved and used on receipts, the member card and the web receipt.
To remove the logo, tap Remove logo, then Remove to confirm, then tap Update. Receipts show the store initials instead.
A simple, high-contrast logo (for example black on white) prints most clearly on a thermal printer.
Related pages
- Receipt configuration — choose the receipt template and what it shows.
- Business configuration — currency, date format and country.