Access: Business > Receipt configuration
Use this screen to configure receipt templates and field labels used when Salesmaster generates receipts.
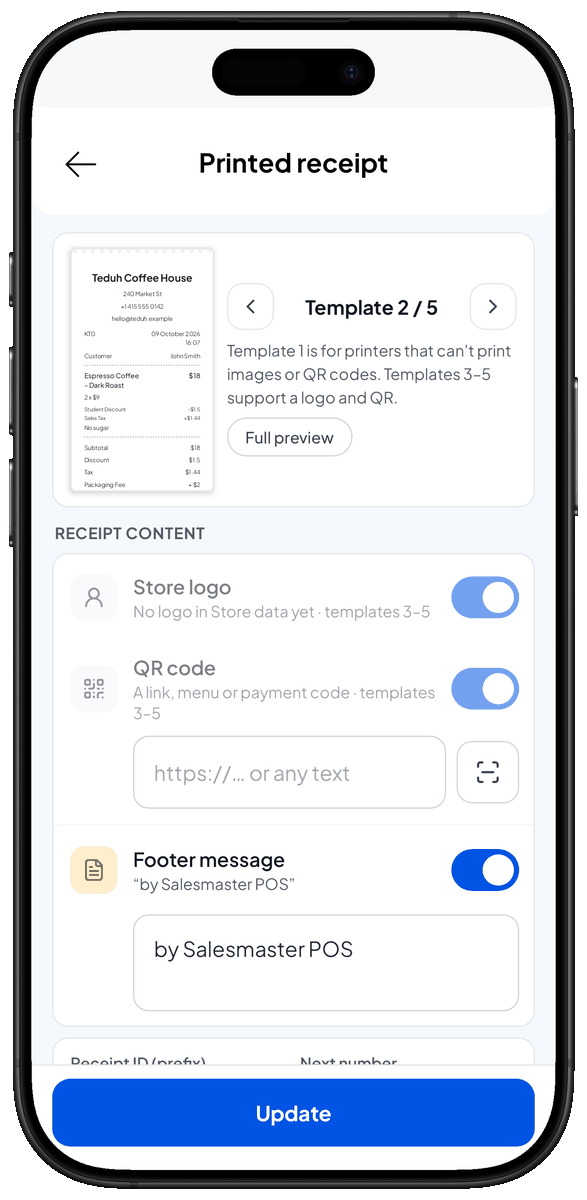
Templates
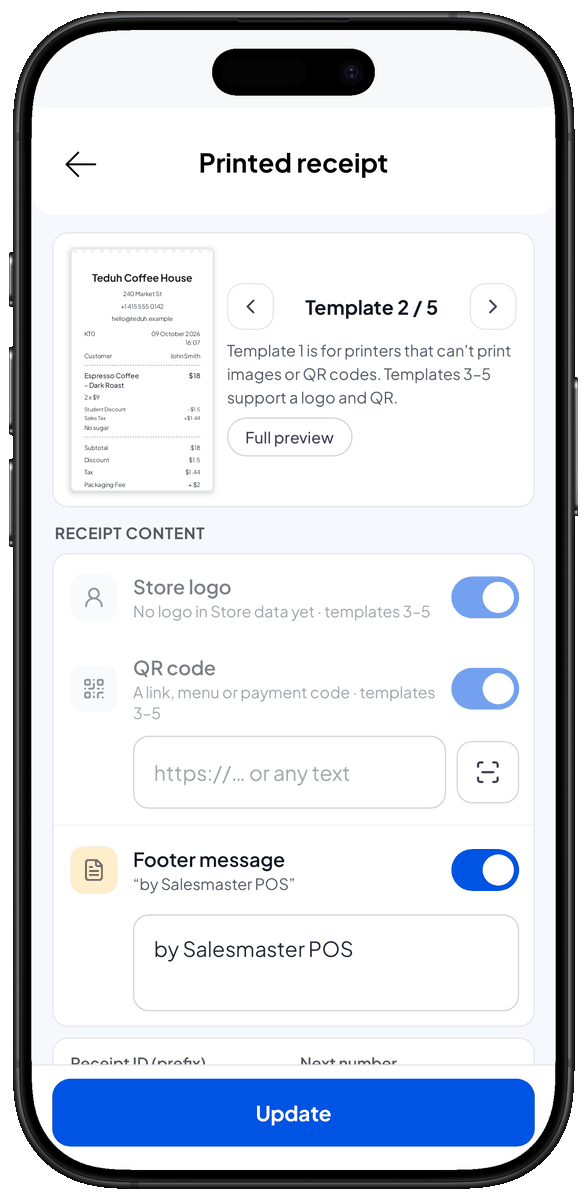
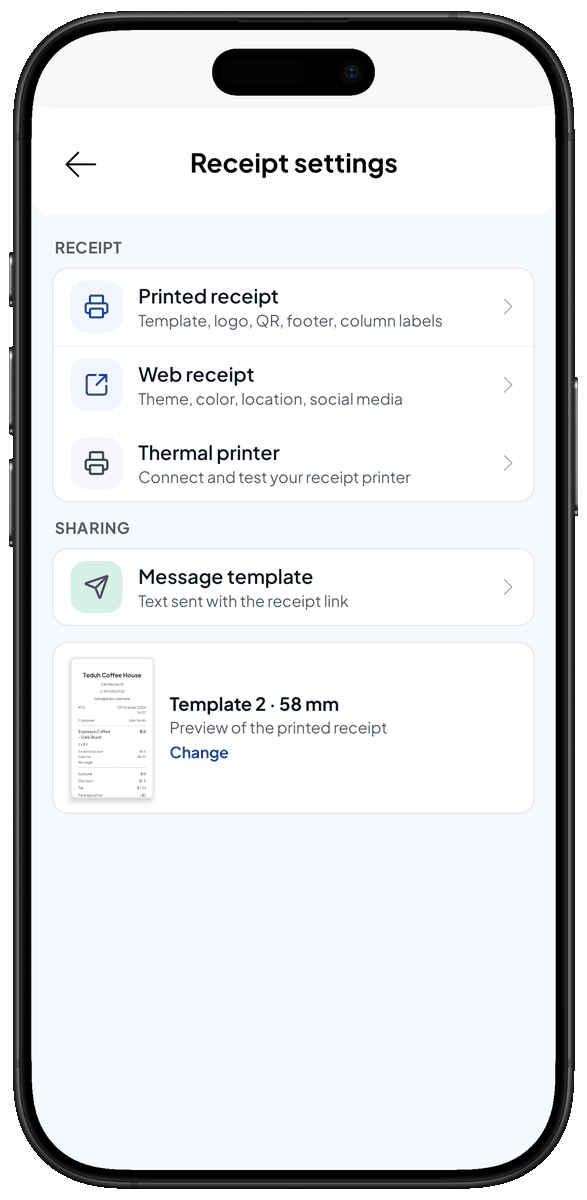
- There are four templates: two simple templates (no image, no QR) and two enhanced templates (support logo and QR code). Each template has its own design.
Logo and QR
- For templates that support images, you can upload a logo to appear on the receipt.
- For templates that support QR codes, you can generate qrcode from link text
Footer message
- Footer message — custom text that appears at the bottom of the receipt.
Receipt identifiers
- Receipt ID — the ID format printed on receipts.
- Receipt next number — the sequence or suffix after the receipt ID (example: if Receipt ID is TRX and next number is 3, next receipts will be TRX-3).
Custom labels
- You can customize labels used on the generated receipt. Editable labels include: id, date, customer, subtotal, discount, tax, total, payment, customer paid, change, note, and item variety divider.
- Label defaults: each label defaults to its plain name (for example default "Total" for the total label). The item variety divider default is "-".
- After editing labels, click Update to save changes and apply them to future receipts.
Related pages
- Store Data - change store data displayed in receipts.