Salesmaster has no password. The business owner signs in with a Google or Apple account. If you don't have a Salesmaster account yet, the app creates one in three steps.
The device needs an internet connection to sign in.
Choose your role
- Open Salesmaster. The Who are you in this shop? screen appears.
- Tap I am the owner. The Sign in to begin. screen appears.
Staff don't sign in. Tap Connect this device, then ask the owner to connect the device with a QR code.
Sign in
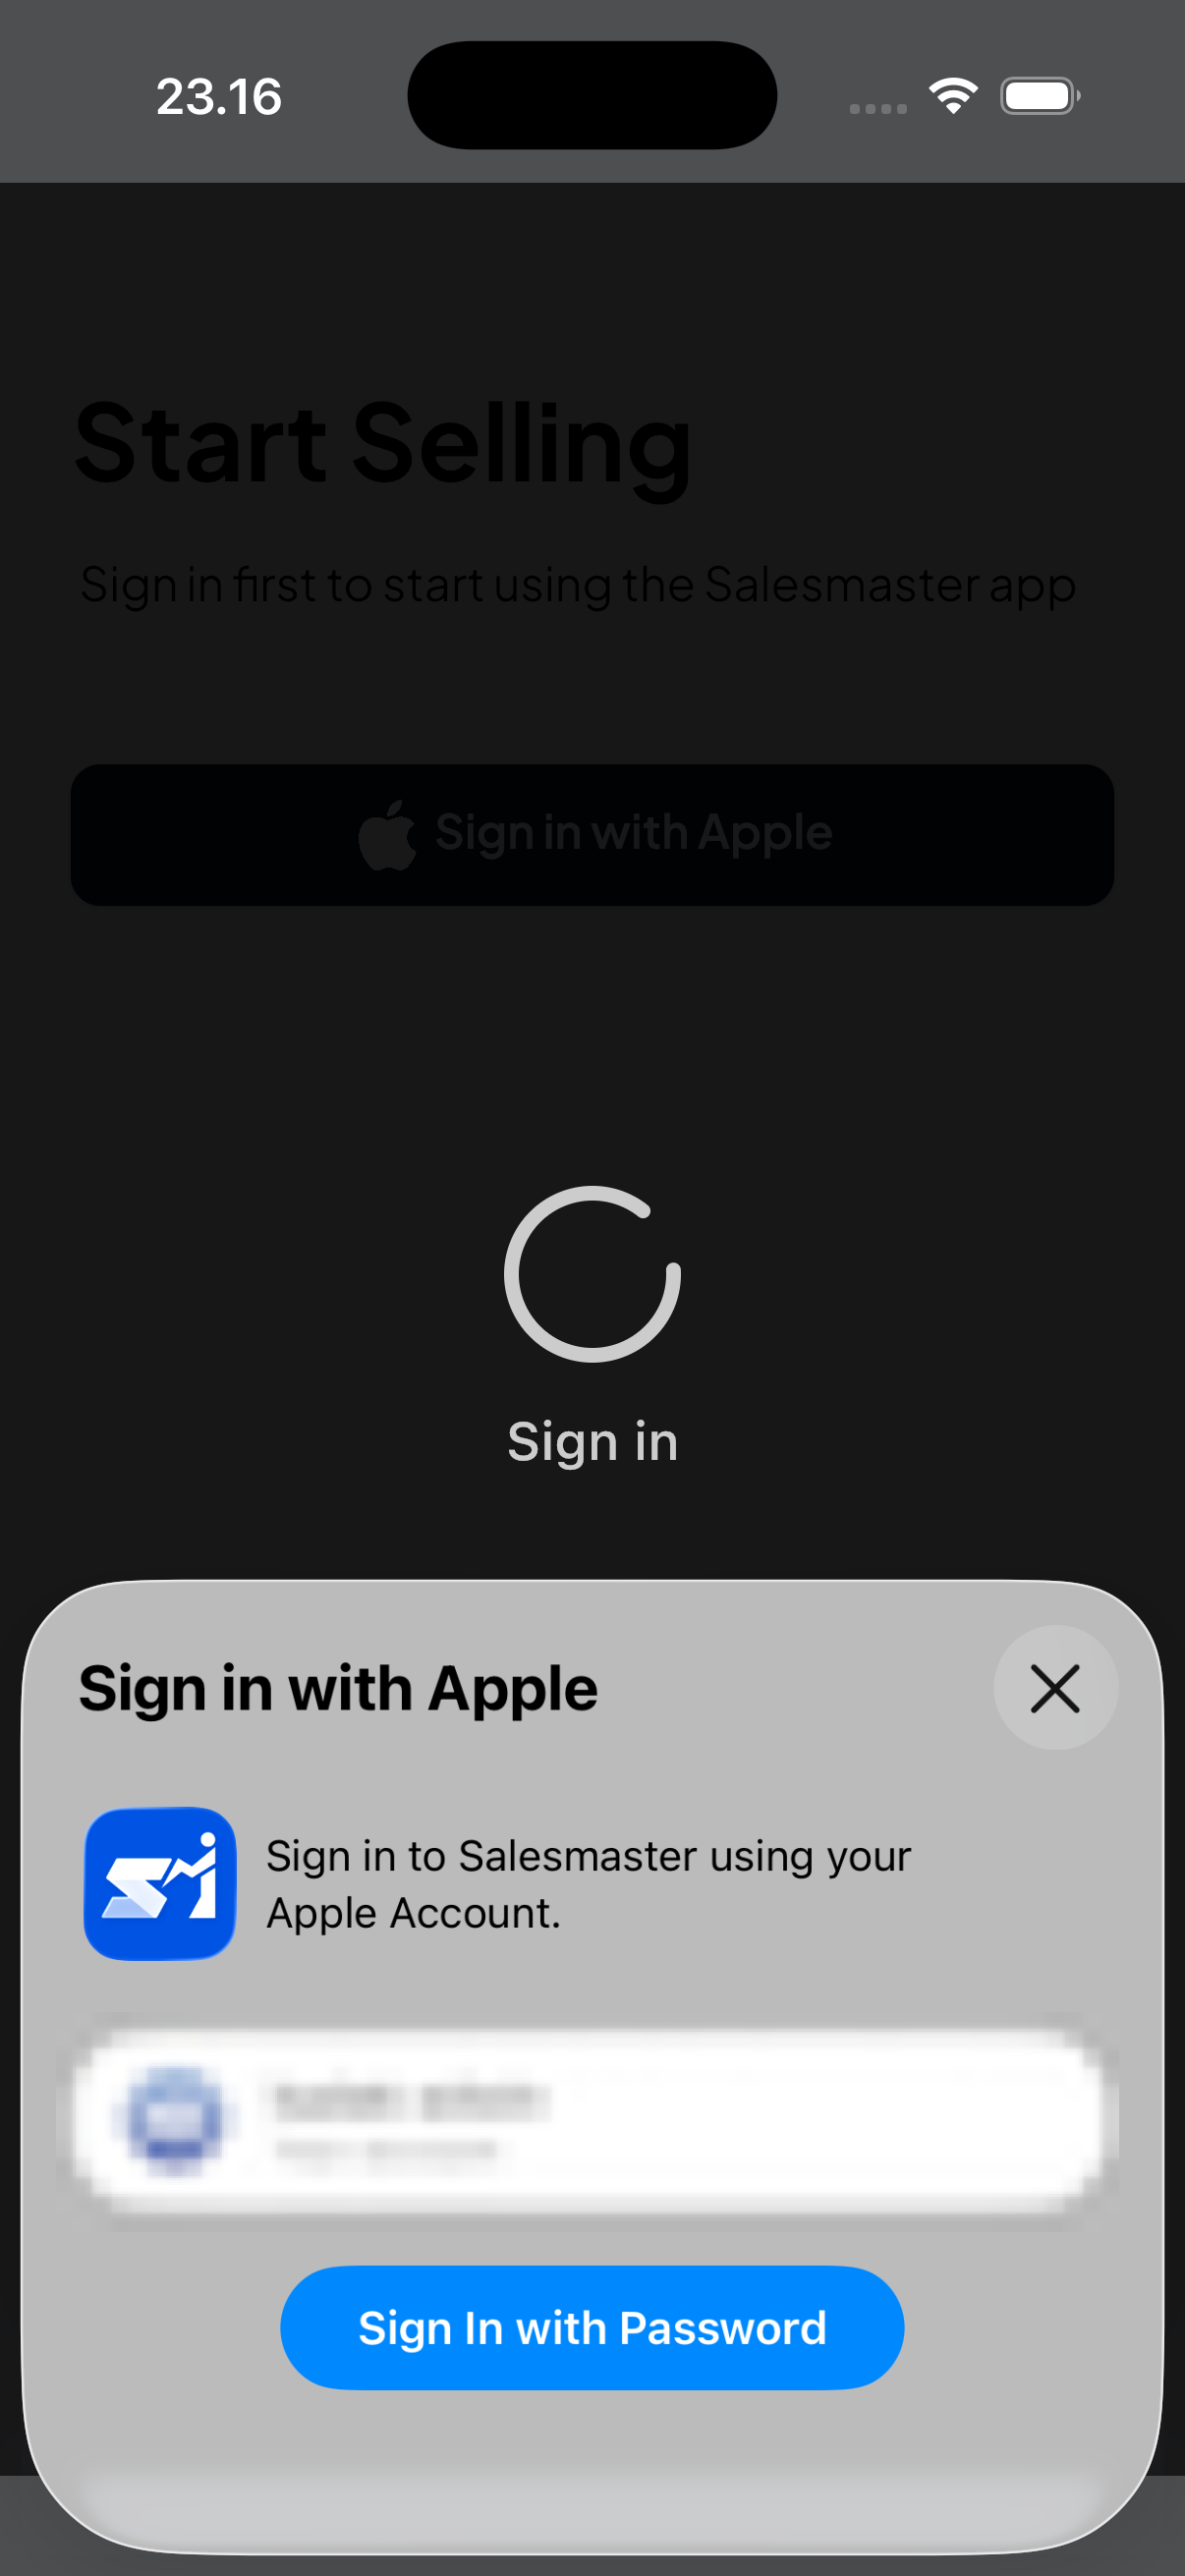
- Tap Sign in with Google. The Google account sheet appears.
- Pick your Google account and confirm. Salesmaster signs you in.
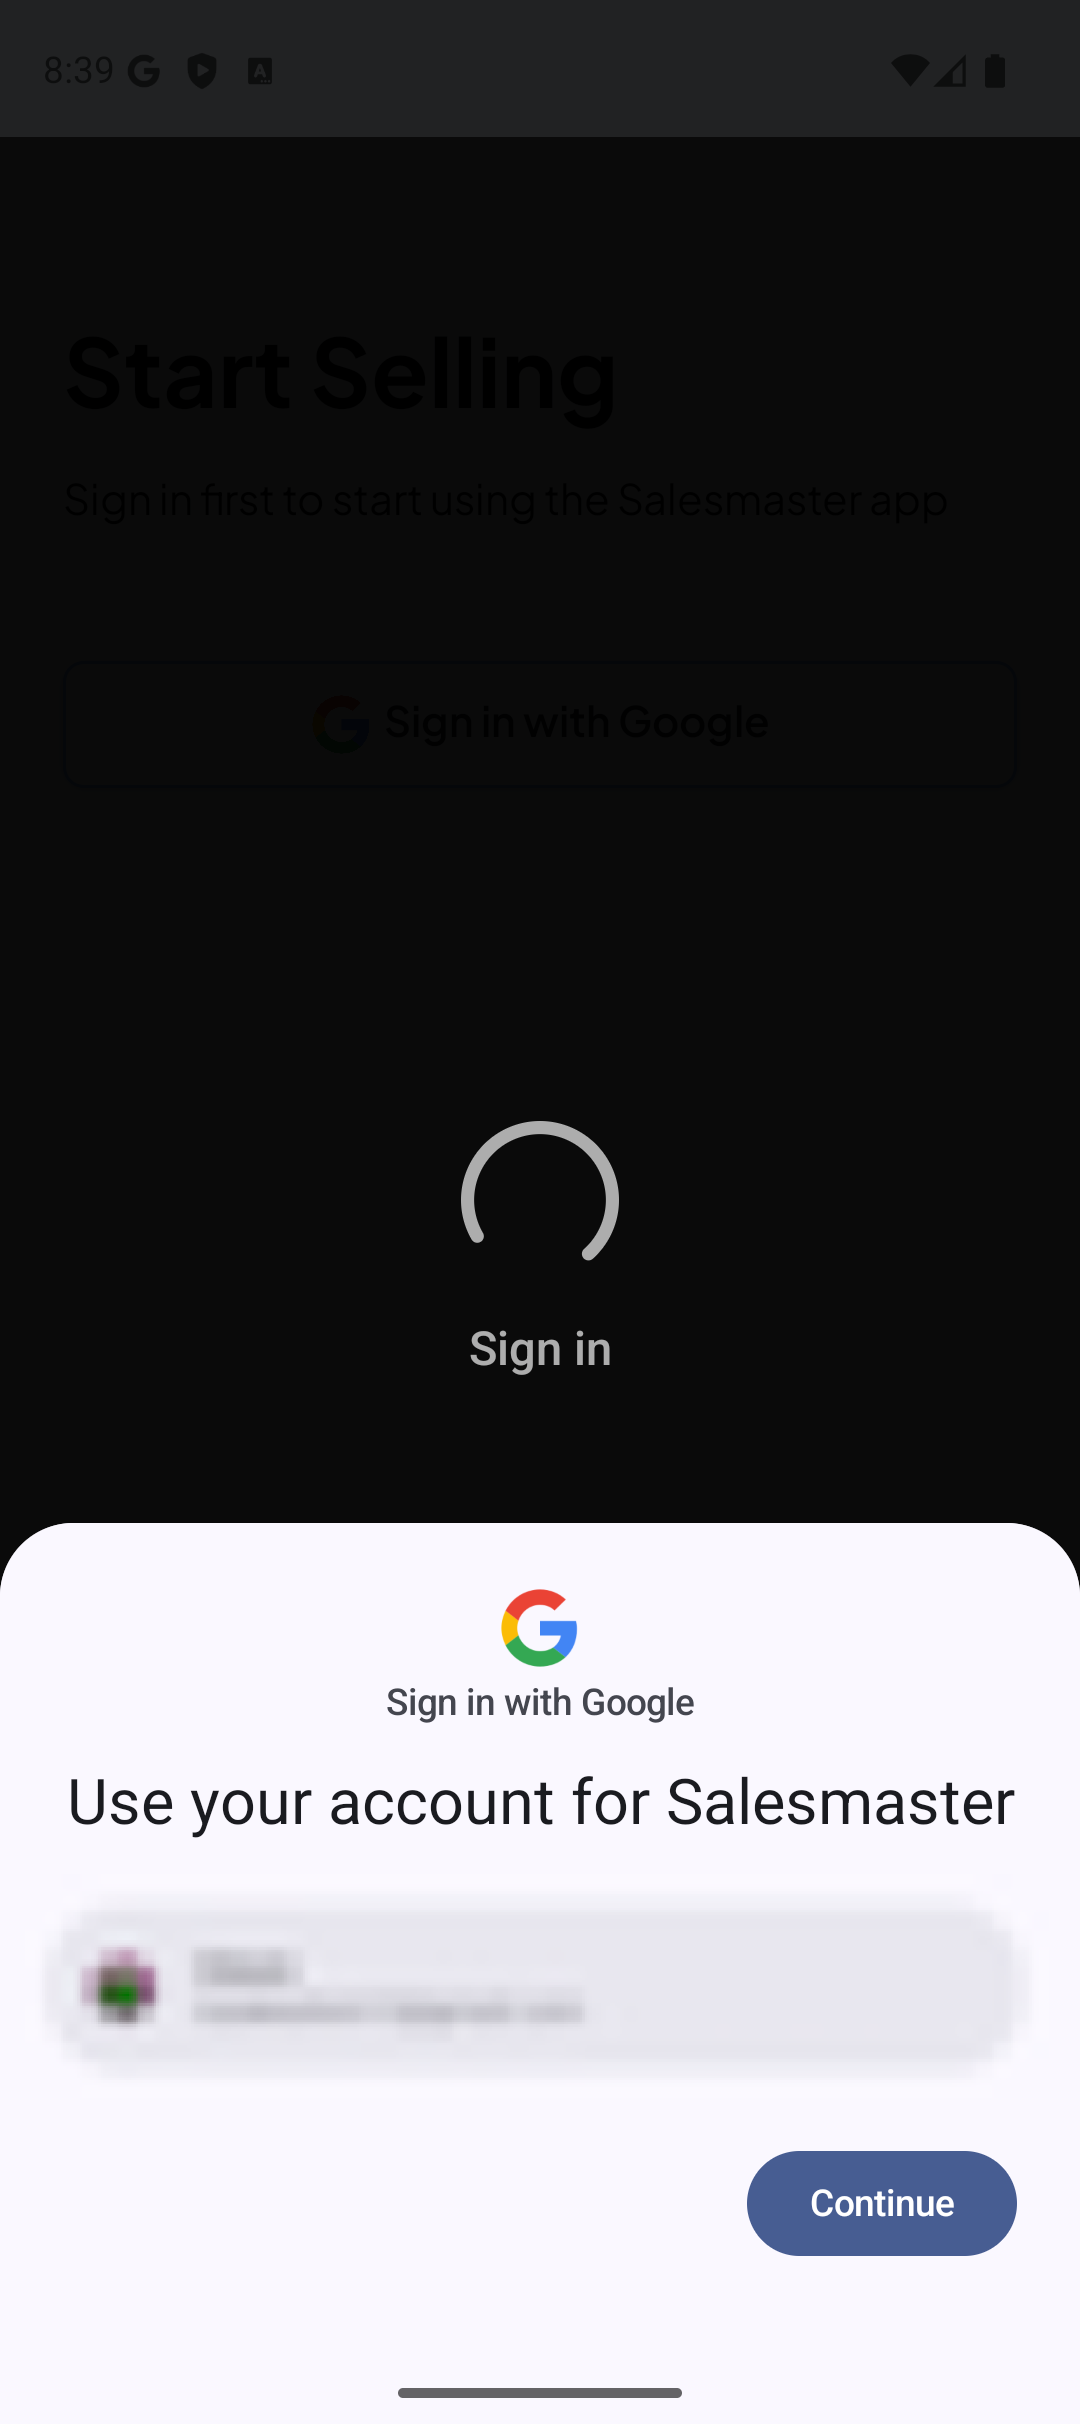
- Tap Sign in with Apple. The Sign in with Apple sheet appears.
- Confirm with Face ID, Touch ID or your Apple Account password. Salesmaster signs you in.
- Click Sign in with Google or Sign in with Apple. Your browser opens the Google or Apple sign-in page.
- Sign in with your account in the browser.
- Go back to Salesmaster. Salesmaster signs you in.
- Click Sign in with Google or Sign in with Apple. The Google or Apple sign-in page opens.
- Sign in with your account. Salesmaster signs you in.
After signing in:
- You already have a Salesmaster account: your shop data downloads, then the Main Menu opens. Setup is done.
- You don't have an account yet: continue with the steps below to create one.
Create a new account
1. Business type
- On What kind of business do you run?, tap the closest field, for example Food & drink or Shops & wholesale. The business types in that field appear.
- Tap the closest business type. If yours isn't there, tap My business type isn’t listed and type it in.
- Tap Continue · [business type] at the bottom. The Name your business. screen appears.
If you pick Other, the What do you sell? screen appears. Type your answer and tap Continue, or tap Skip.
2. Business name
- Type your business name in Business name. This name appears on receipts and reports.
- (Optional) Tap the logo box above the name field and choose your logo image. The logo shows in the box. Without a logo, your business initials are used.
- Check the Region line: the country, currency and time zone come from your device. If they are wrong, tap Change.
- Tap Create account & continue. Creating your account and shop… shows for a few seconds. Keep the app open.
Your account is now created. From here you can close the app: when you open it again, setup continues where you left off.
3. Feature tour
- Read the Always on for screen for your business type, then tap Next. The next screens show extra features you can switch on.
- Switch on or off the features you need, then tap Next. Every choice can be changed later in the Business menu.
- On the last screen, tap Continue to items. The Fill your Catalog. screen appears.
Want to go straight to items? Tap Skip tour.
4. First items
Pick one way:
- Start with a sample menu: sample items for your business type. Change names and prices, delete what you don't sell, then tap Save [number] items. This option appears when your currency is rupiah.
- Add my first item: enter one item yourself.
- Import from CSV: upload an item list from Excel or Google Sheets.
To add one item:
- Tap Add my first item. The Add your first item. screen appears.
- Under Type, choose Product or Service.
- Fill in Item name and Price.
- Tap Save item. The ready to sell screen appears.
You can add more items any time from the Catalog.
5. Ready to sell
The [business name] is ready to sell. screen sums up your account, Catalog and the features that are on.
- Tap Try a first sale (practice) to try the checkout, or Straight to Main Menu.
- In the practice sale, tap an item, tap Pay, then choose Cash. Sale complete appears. The practice sale is not saved: no transaction, stock or report changes.
- Tap To Main Menu. The Main Menu opens and you are ready to record real sales.
If signing in doesn't work
No internet connection Signing in needs the internet. Connect the device, then tap Try again. Nothing has been lost.
Account in use on another device An account can only be active on one device. To move to this device:
- Tap Ask support on WhatsApp. WhatsApp opens with a message that contains your business ID.
- Send the message. Support signs the account out of the old device.
- Sign in again on this device.
Still have the old device? Open Salesmaster there and let it sync first, so your latest sales are sent too.
Sign-up failed The app could not reach the server. Check your internet connection, then tap Try again. The business name you entered is kept.
Need help?
- Read the FAQ and troubleshooting.
- Contact support on WhatsApp, Telegram or email, 09.00–17.00 WITA (GMT+8).